

Free Hosting with Domain and Email
If you’re looking for free hosting with a domain name and email, here are some options: 1. InfinityFree (Free Hosting + Free Subdomain) 2. Freenom (Free .TK/.ML/.GA/.CF/.GQ Domain) + Free...
Continue reading

How to add a domain in WordPress – Domain Setup Beginners …
How to Add a Domain in WordPress – Domain Setup for Beginners Adding a domain to your WordPress site is an essential step in establishing your online presence. Here’s a...
Continue reading

Temp Mail Services with .COM Domains
Temp Mail Services with .COM Domains Why Do People Want .EDU Emails? How to Create an .EDU Email Easily (2024 Methods) Method 1: Enroll in a Free or Cheap Online...
Continue reading
Temp Mail – Free Edu / .COM Temporary Mails
If you’re looking for temporary email services (temp mail) with free .edu or .com domains, here are some reliable options: 1. Temp Mail Services with .COM Domains Most temporary email...
Continue reading
How Hacker Track Any Phone Number with OSINT Tools ??| Ethical Hacking Tutorial 2025
How to Track a Phone Number Using OSINT Tools (Ethical Hacking 2025 Guide) ⚠️ Disclaimer: This guide is for educational purposes only. Unauthorized phone tracking is illegal and violates privacy...
Continue reading

Becoming a hacker in 2025—whether ethical (white-hat), malicious (black-hat), or somewhere in between (grey-hat)—requires technical skills, cybersecurity knowledge, and the right mindset. Below is a step-by-step guide to becoming a hacker in 2025, legally and professionally.
🔥 How to Become a Hacker in 2025 (Step-by-Step Roadmap) (Ethical Hacking, Penetration Testing, Bug Bounty & Cybersecurity Career Guide) 🚀 Step 1: Understand the Types of Hackers ✅ White-Hat...
Continue reading

Ultimate Ethical Hacking Full Course 2025 in Hindi | Kali Linux
Here’s a comprehensive, structured outline for your “Ultimate Ethical Hacking Full Course 2025”, covering the latest tools, techniques, and certifications for beginners to advanced learners. 🔥 Ultimate Ethical Hacking Full...
Continue reading

Creating AI videos from text prompts is now possible with advanced AI tools that combine text-to-image and image-to-video generation. Here’s how you can do it:
Step-by-Step Guide to AI Video Generation Best Free Options Use Cases ✅ Marketing & Ads – Quickly generate promo videos✅ Social Media – Viral short clips for TikTok/Reels✅ Storyboarding –...
Continue reading
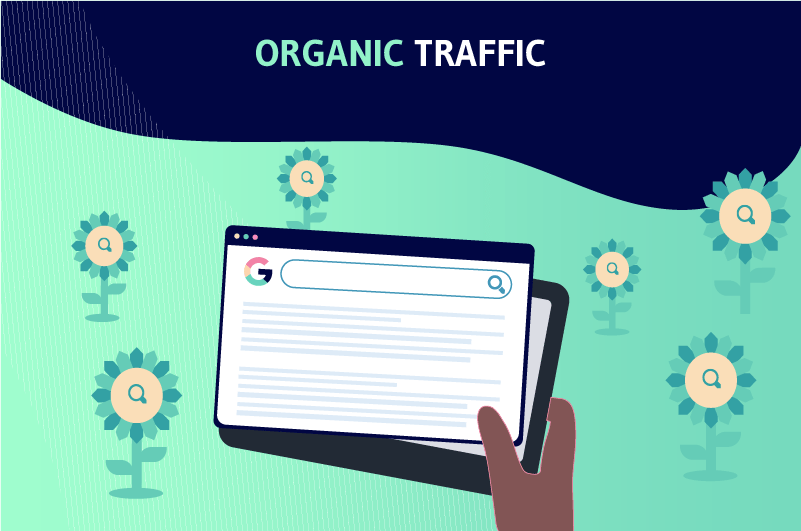
Direct vs. Organic Traffic: What Is Direct Traffic and How Is it Different From Organic Traffic?
Direct vs. Organic Traffic: Key Differences Explained Understanding how visitors arrive at your website is crucial for optimizing marketing strategies. Two major traffic sources are direct traffic and organic traffic,...
Continue reading
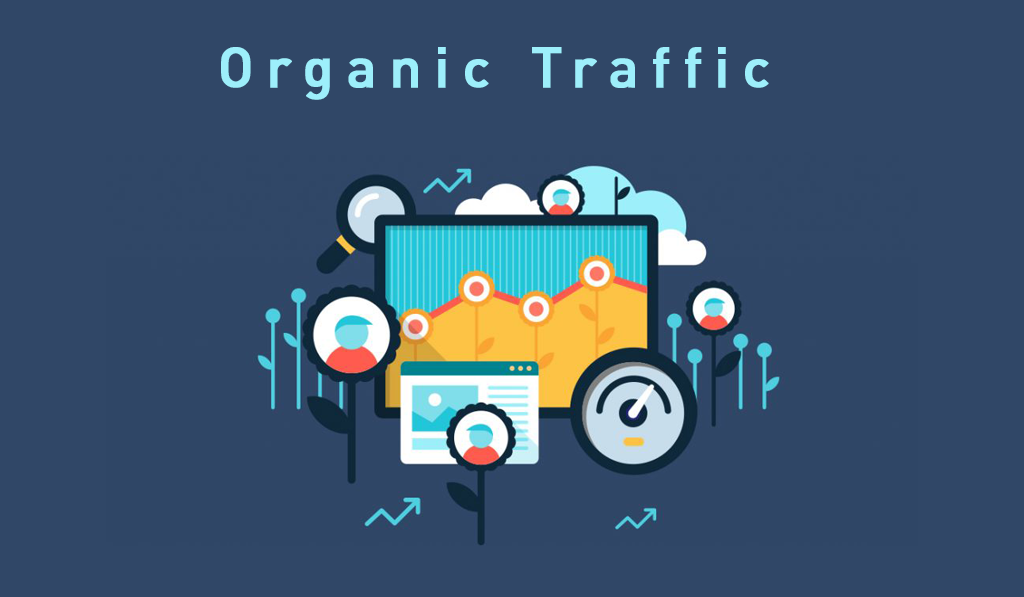
divert organic traffic to website
How to Divert Organic Traffic to Your Website (2000+ Word Guide) Organic traffic is the lifeblood of any successful website. Unlike paid ads, it provides free, sustainable, and high-quality visitors...
Continue reading