
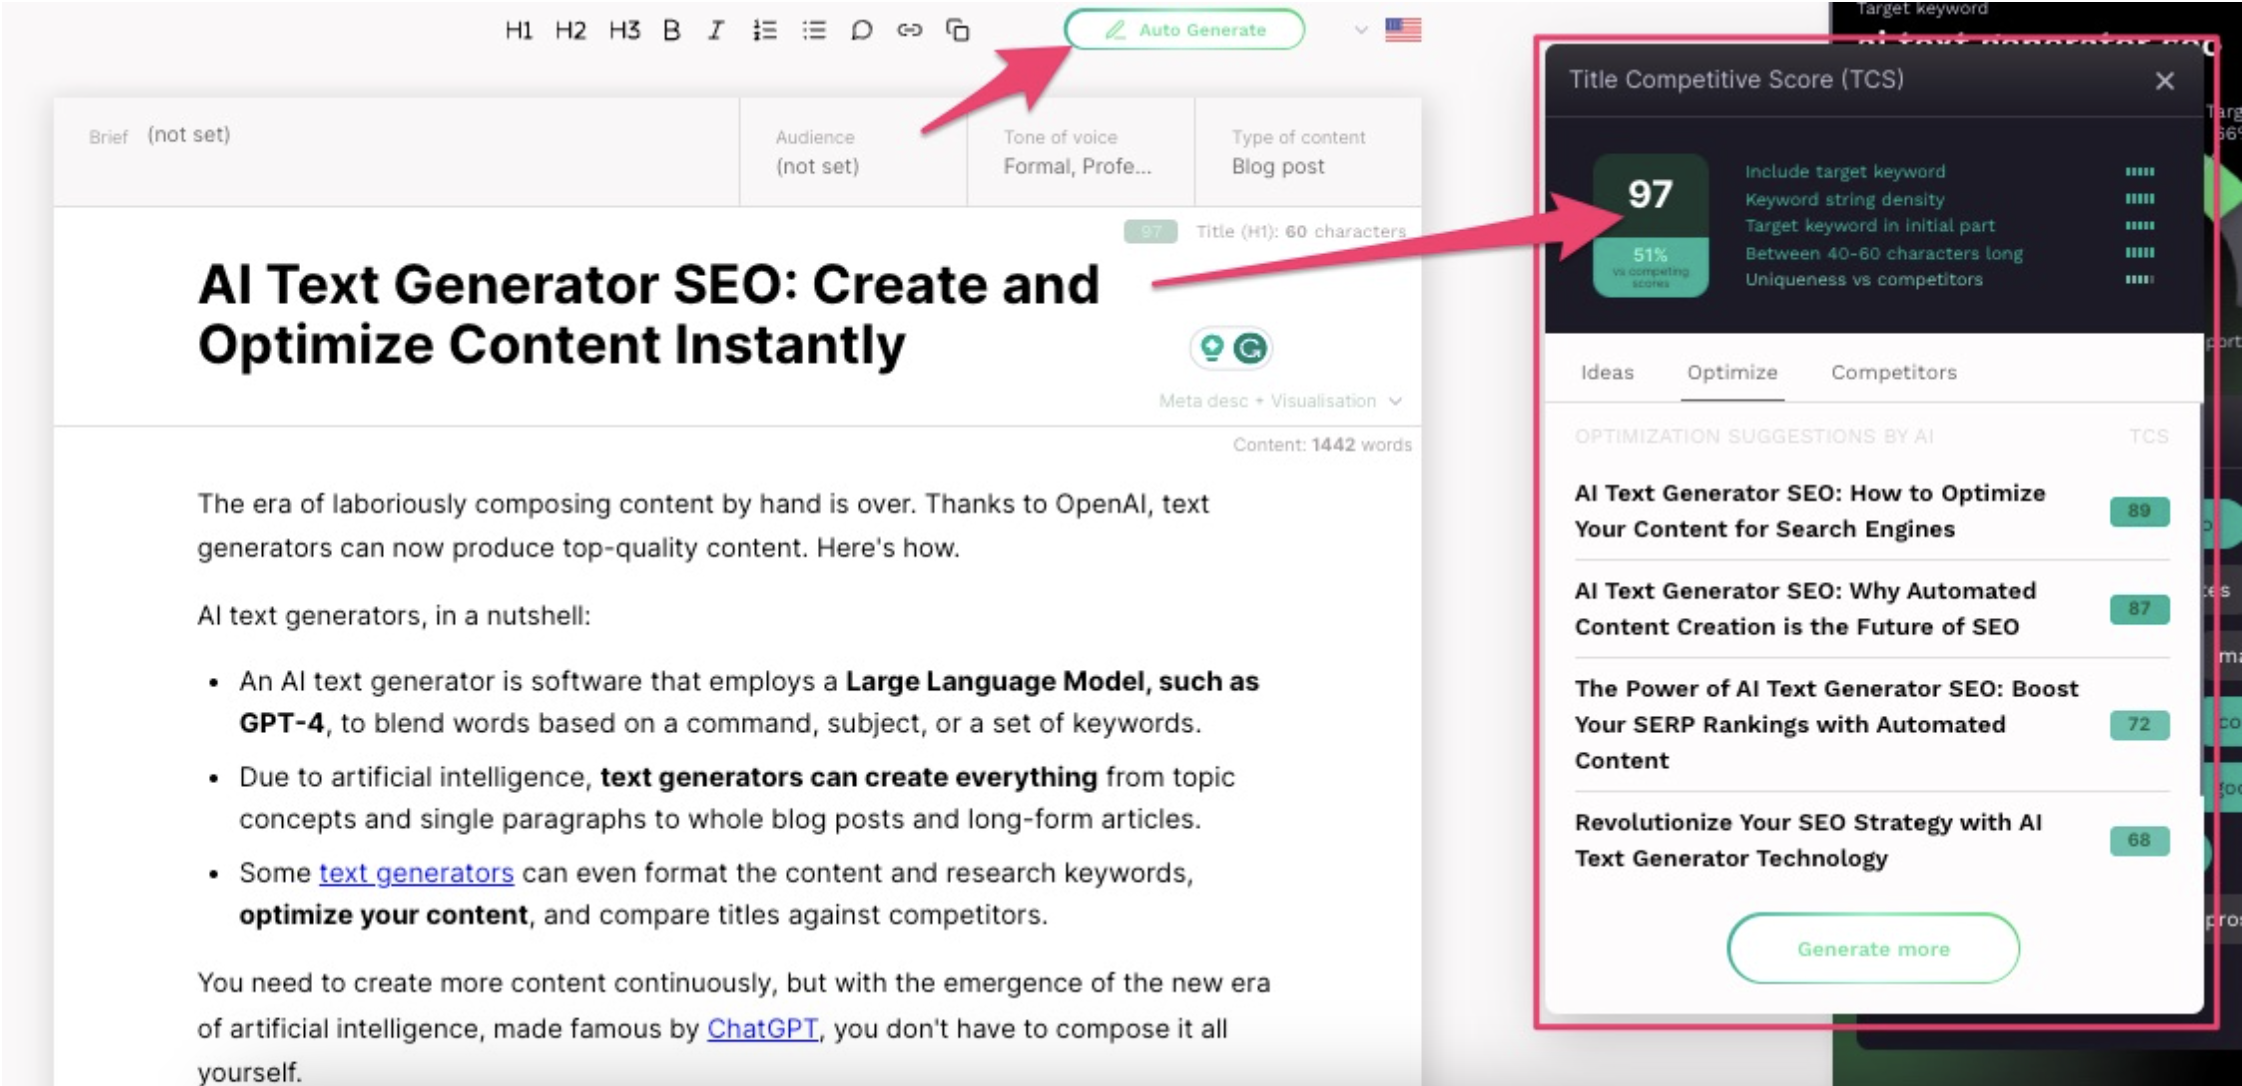
Free AI-Powered Long-Form Article Generator: Create Quality Content Effortlessly
In today’s digital world, content is king. Whether you’re a blogger, marketer, or business owner, producing high-quality, long-form articles is essential for SEO, engagement, and authority building. However, consistently creating...
Continue reading

How to Get a Free .edu Email Address in 2024/2025 (Legitimate Methods)
A .edu email address unlocks exclusive student discounts, free software (GitHub Pro, Canva, JetBrains), cloud credits (AWS, Google Cloud), and more. However, many “free .edu email generators” are scams. This...
Continue reading
The Ultimate Guide to .Edu Email Benefits in 2025 (Free Perks & Discounts)
A .edu email address is more than just a school ID—it’s a golden ticket to exclusive student discounts, free software, cloud services, and premium subscriptions. In 2025, companies continue to...
Continue reading

How to Get a Free .edu Email in 2025 for GitHub Student Pack (Long Guide)
A .edu email address can unlock valuable student benefits, including the GitHub Student Developer Pack, which offers free access to premium developer tools, cloud credits, and software licenses. However, obtaining...
Continue reading
How to Get a Free .edu Email Address (Long-Term)
Getting a legitimate .edu email address can provide access to student discounts, free software, and other educational benefits. Here are several methods to obtain one: Legitimate Ways to Get a...
Continue reading

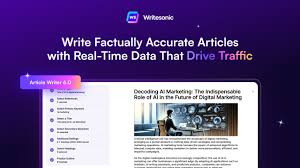
20 Best AI Writing Apps in 2025 (Free & Paid Tools Compared)
The rise of AI-powered writing tools has revolutionized content creation, making it faster and more efficient than ever. Whether you’re a blogger, marketer, student, or business owner, there’s an AI...
Continue reading

The 6 Best AI Writing Generators in 2025 (Free & Paid Options Compared)
In 2025, AI writing tools have evolved to produce high-quality, SEO-friendly content that rivals human writing. Whether you’re a blogger, marketer, or business owner, using the best AI writing generators...
Continue reading
Free AI Article Writer for SEO (2025): 100% Free, No Login Required
In 2025, creating SEO-optimized articles doesn’t have to be expensive or complicated. Thanks to free AI writing tools, you can generate high-quality, search-friendly content without paying a dime or even...
Continue reading

The Ultimate Guide to Free AI Writing Tools for SEO in 2025
In the ever-evolving world of SEO and content marketing, AI-powered writing tools have become essential for creating high-quality, search-optimized content efficiently. Whether you’re a blogger, marketer, or business owner, leveraging...
Continue reading

Best Free Ad Websites to Drive Traffic (2024 Guide)
If you’re looking for free advertising websites to promote your business, blog, or affiliate links without spending money, you’re in the right place. While paid ads (Google Ads, Facebook Ads)...
Continue reading